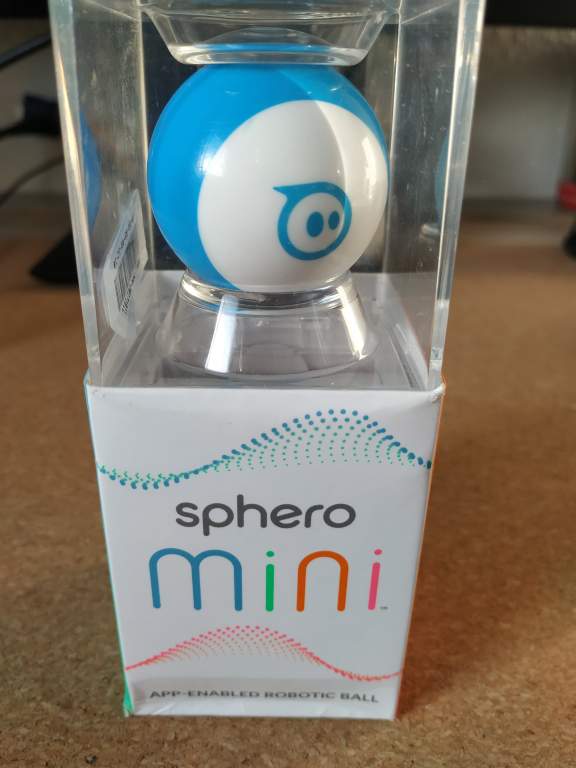
Some years ago I bought a Sphero Mini Robotic ball on a business trip. I was very flashed by the introdution movie and i though, that this is a perfect gift for my kids. Same as with other toys, kids losts his interessest on this robotic ball and it disappeared in a corner of other „lost toys“ after a while.
Sphero Mini won’t start – defective battery
Two years later, sphero mini came back, but it won’t start. Sphero Mini was blinking with connected USB-cable only. So I thought first to a death battery.
Hopefuly I tried loading Sphero Mini Robotic ball via USB until he showed my „full loaded“ state. But after removing the USB-cable Sphero Mini Life light went out again. Very disappointing….
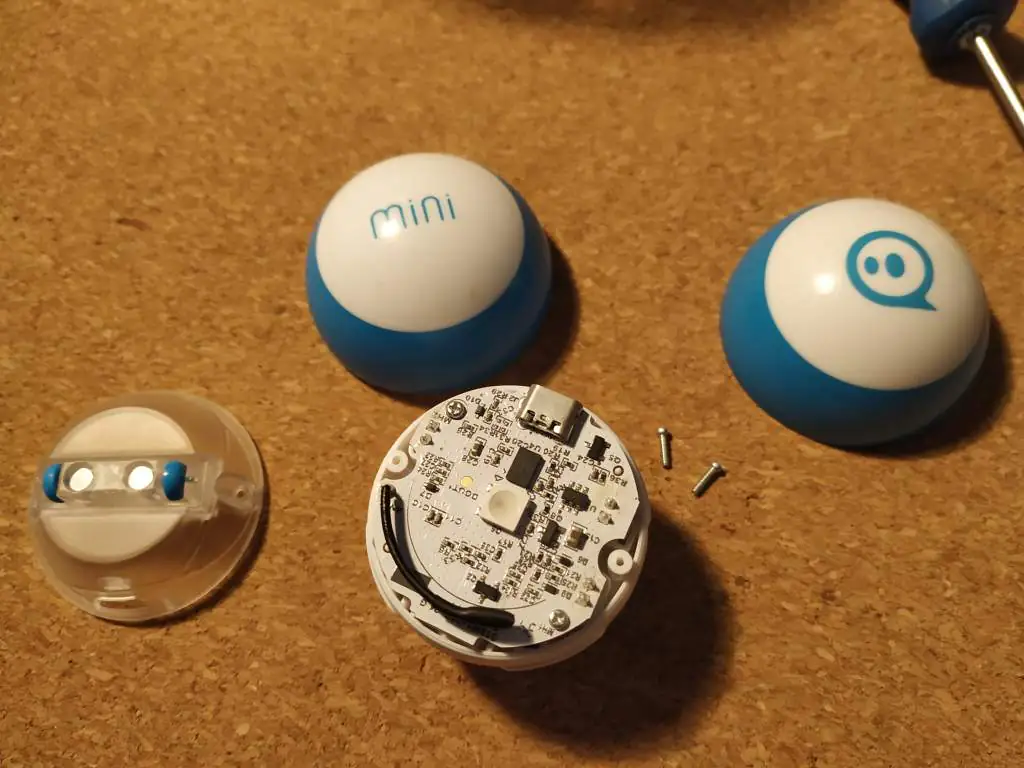
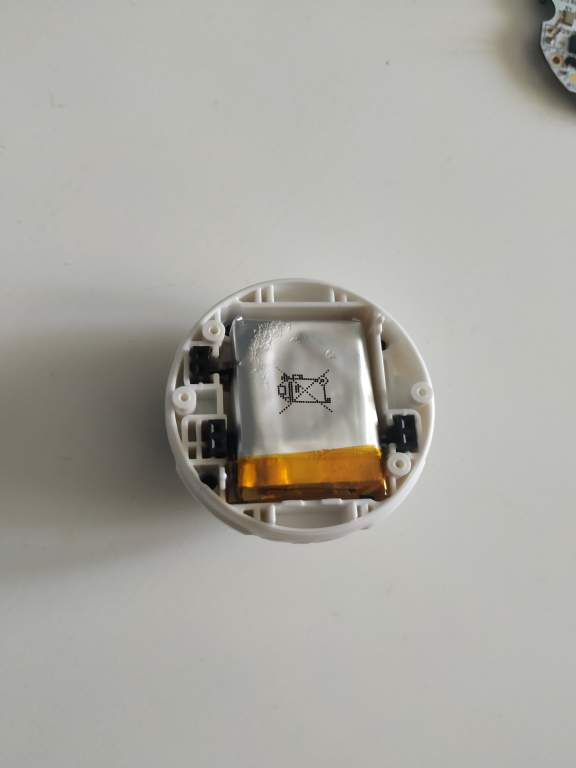
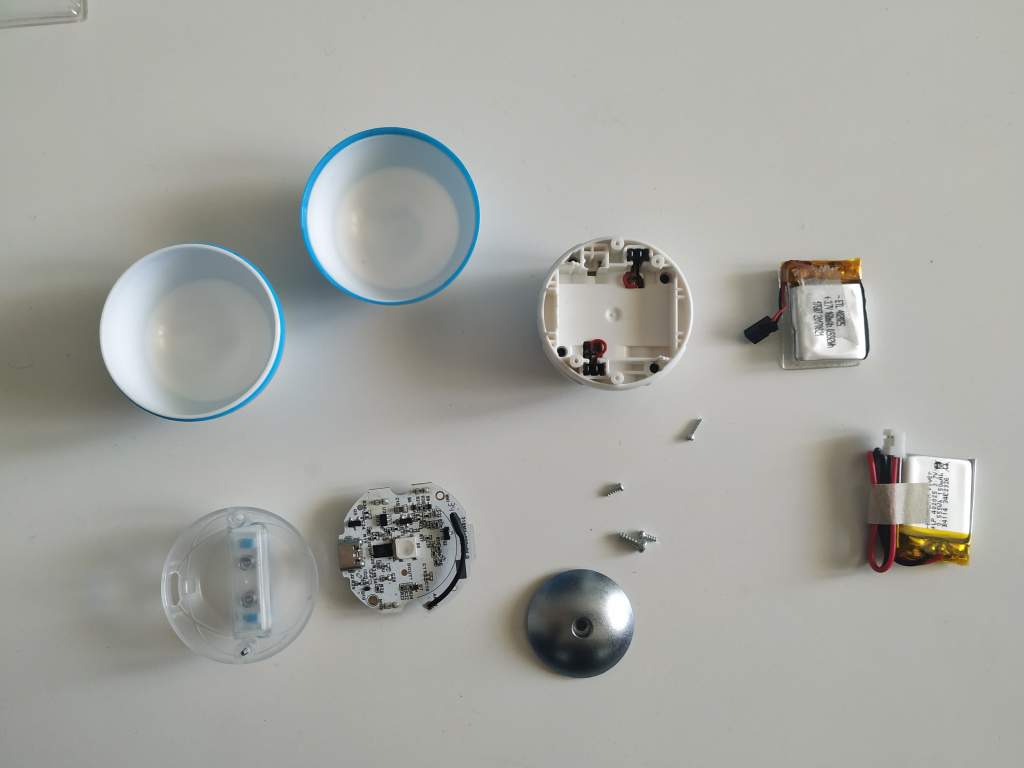
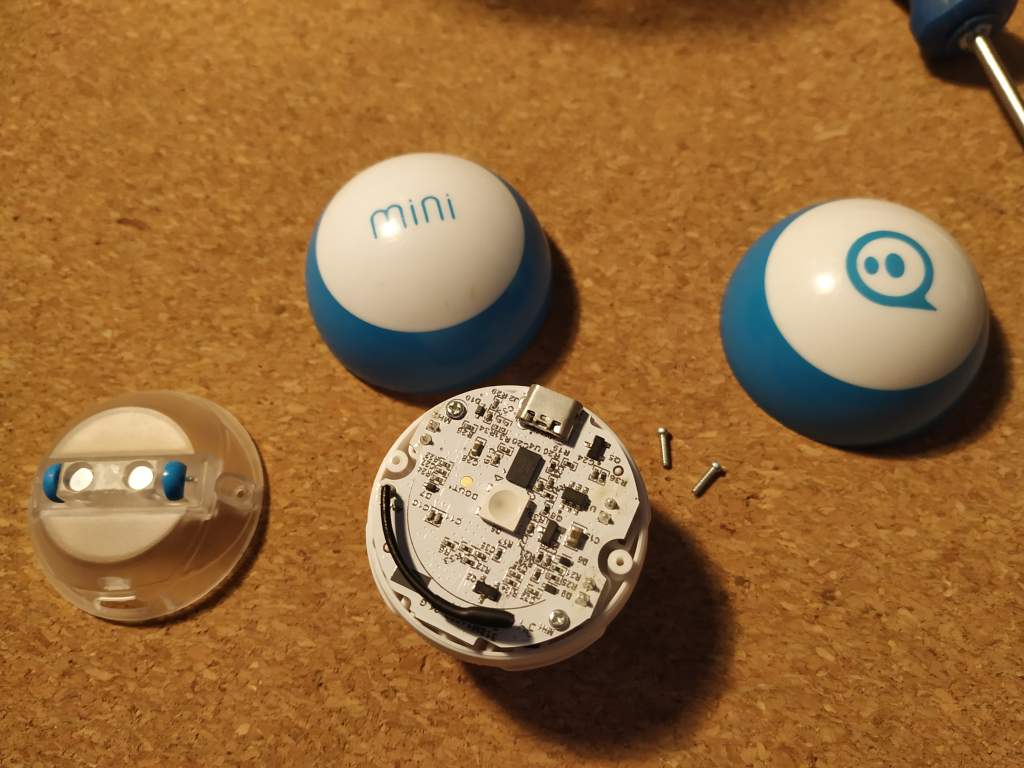
As a passionated hobbyist, I started removing of all screws and I was very surprise about this easyness. Sphero Mini’s battery / LiPo Accu was simple connected to it.
After a short research with Google with „ETL 402025“, i found an online-shop who offered me the correct LiPo for my defective Sphero Mini robotic ball. I bought it for round about 7 € inkl. shipping costs and started replacement of defective battery.
steps for successfull battery replacement
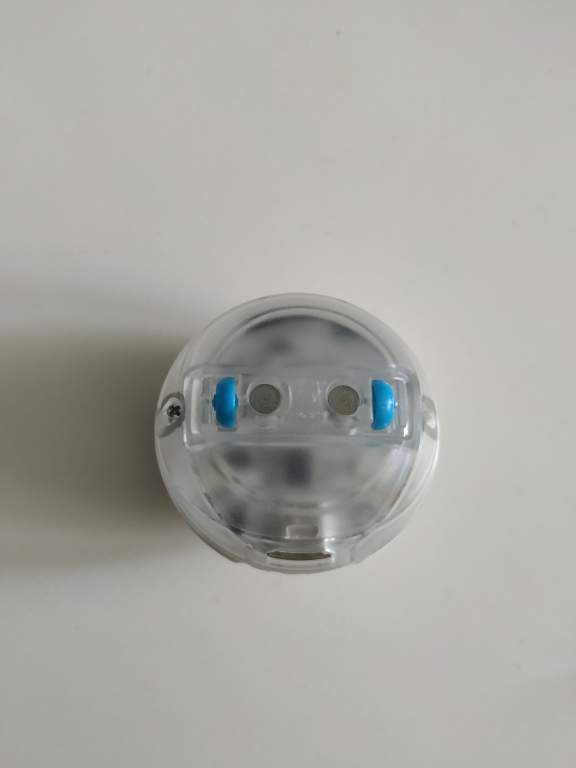
- remove two screws from transparent plasic cover
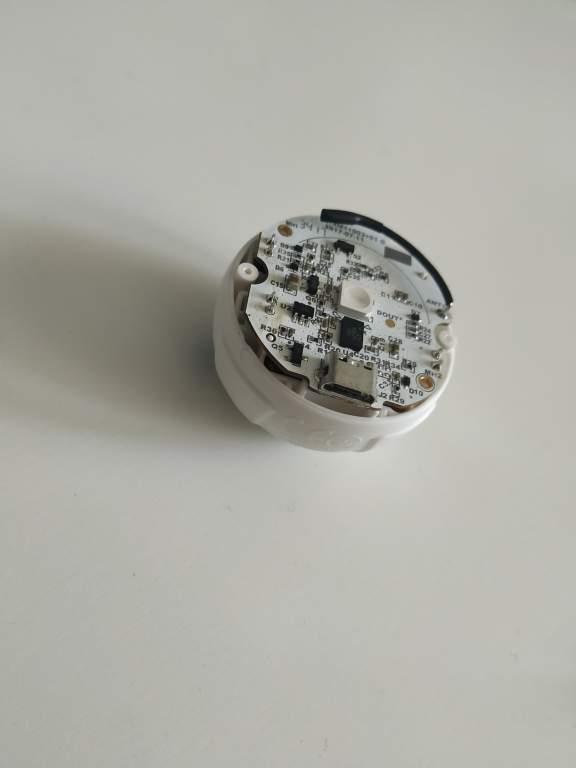
- remove electronic board carefully
- remember positions of red/black cable of power connector!
- remove defective battery / LiPo Accu
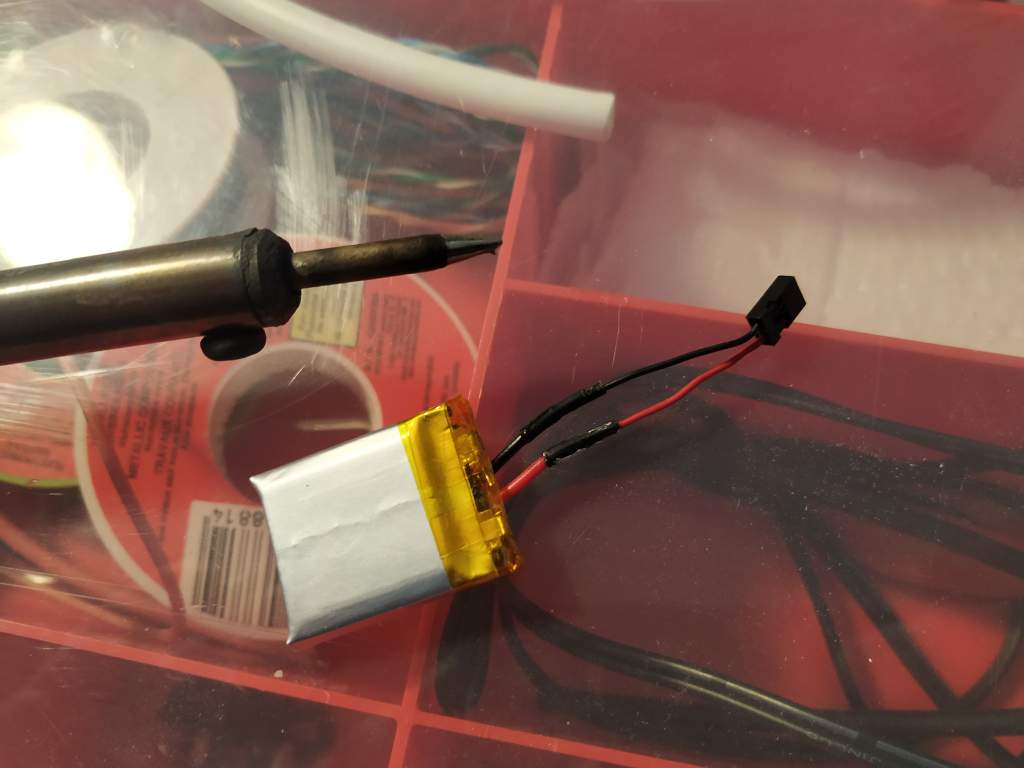
- re-solder connector from old to new LiPo Accu
- put the new LiPo Accu inside, recover power connector (pay attention to red/black cable position)
- put electronic board back carefully. pay attention to connector
- put transparent plasic cover and fix with two screws
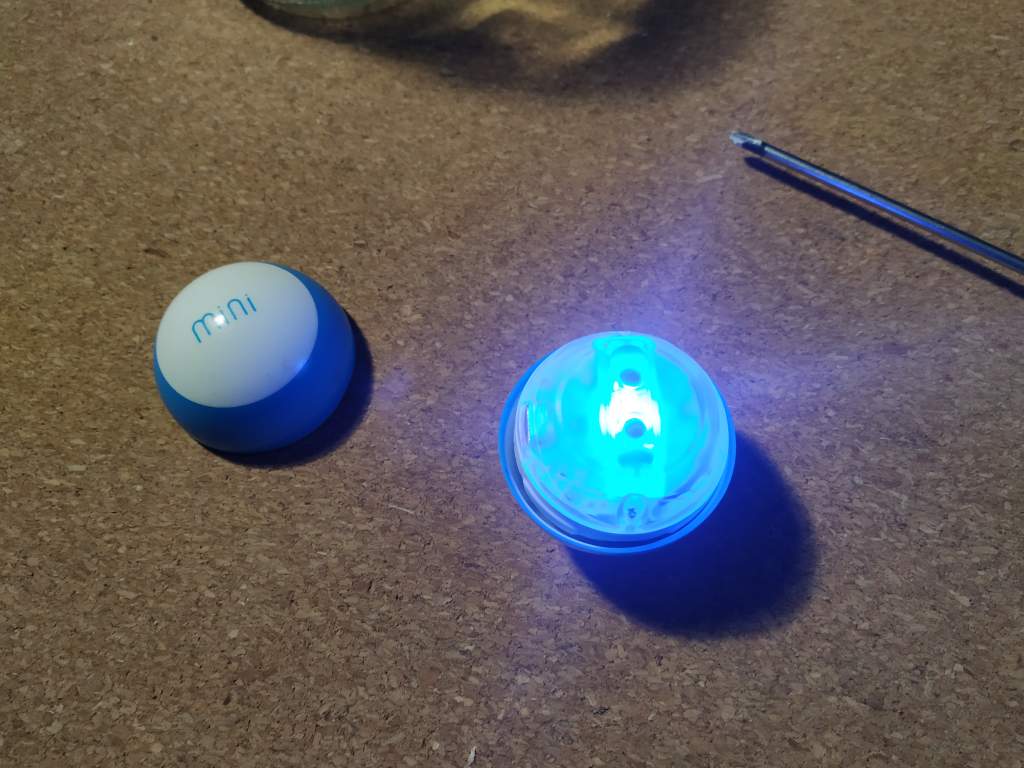
That’s all!
A big praise to developers of this easy setup!
